Roofing & Attics
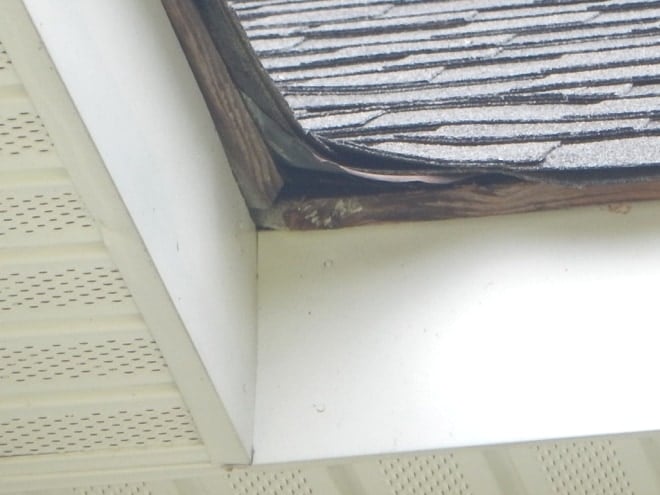
Missing or Damaged Drip Edge at Roof Eaves
Status Plan for Correction
Without drip edge, water can wick into fascia and underlayment edges instead of shedding cleanly off the roof.
View case fileTHE HOUSE FILES · Roofing & Attics
Where a roof meets a wall, missing or failed step flashing can let water slip behind the wall covering and into the framing.
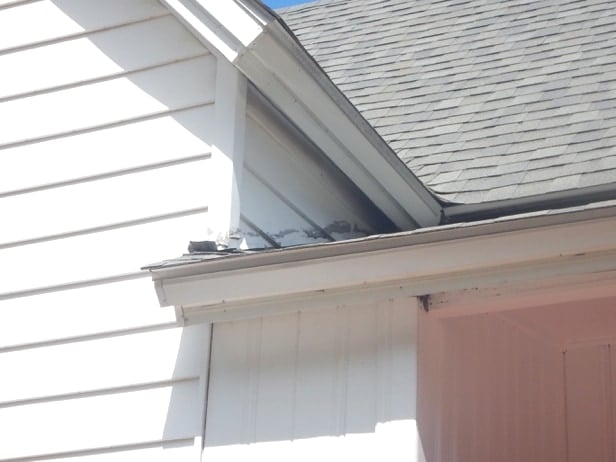
Where a roof plane meets a vertical wall, each course of roofing normally needs step flashing (and often counterflashing or proper wall covering integration) so water cannot run behind the siding. Missing, incomplete, or failed step flashing is a common water-intrusion risk and should be corrected by a qualified roofing professional.
PLAN FOR CORRECTION
Have a qualified roofing contractor evaluate the roof–wall intersection and install proper step flashing integrated with the roof covering and wall finish. If interior stains or soft materials are present, plan for evaluation of hidden damage as the intersection is opened.
Step flashing is part of a layered water-management system. Each bent metal piece (or equivalent listed detail) sheds water down onto the course of roofing below so it cannot run uphill along the wall line into the wall assembly.
When that layer is missing, incomplete, or buried behind cladding, moisture can wet sheathing and framing for years before interior stains appear. Caulk alone is not a durable substitute for flashing at this transition.
Photographs of a bad intersection document an installation concern. They do not, by themselves, prove every leak path, the full extent of hidden damage, or that the entire roof covering has failed.
During a real inspection, silicone and incomplete flashing detailing were noted at a roof–wall transition. The report recommended opening the transition and installing proper flashing so water sheds onto the roof rather than into the wall.
Roofing & Attics
Status Plan for Correction
Without drip edge, water can wick into fascia and underlayment edges instead of shedding cleanly off the roof.
View case fileRoofing & Attics
Status Plan for Correction
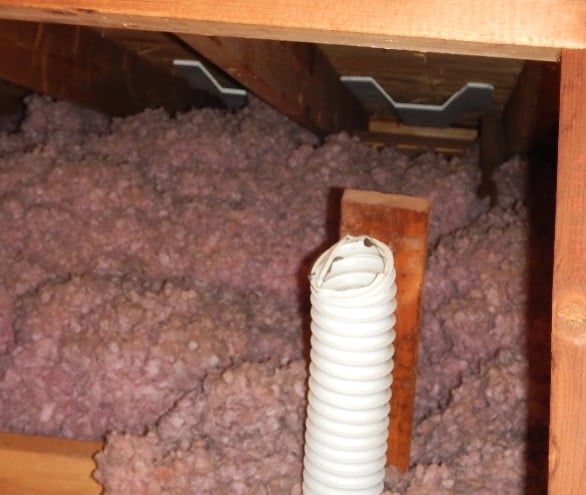
A bathroom exhaust fan that dumps moist air into the attic instead of outdoors can wet insulation and framing.
View case fileElectrical
Status Plan for Correction
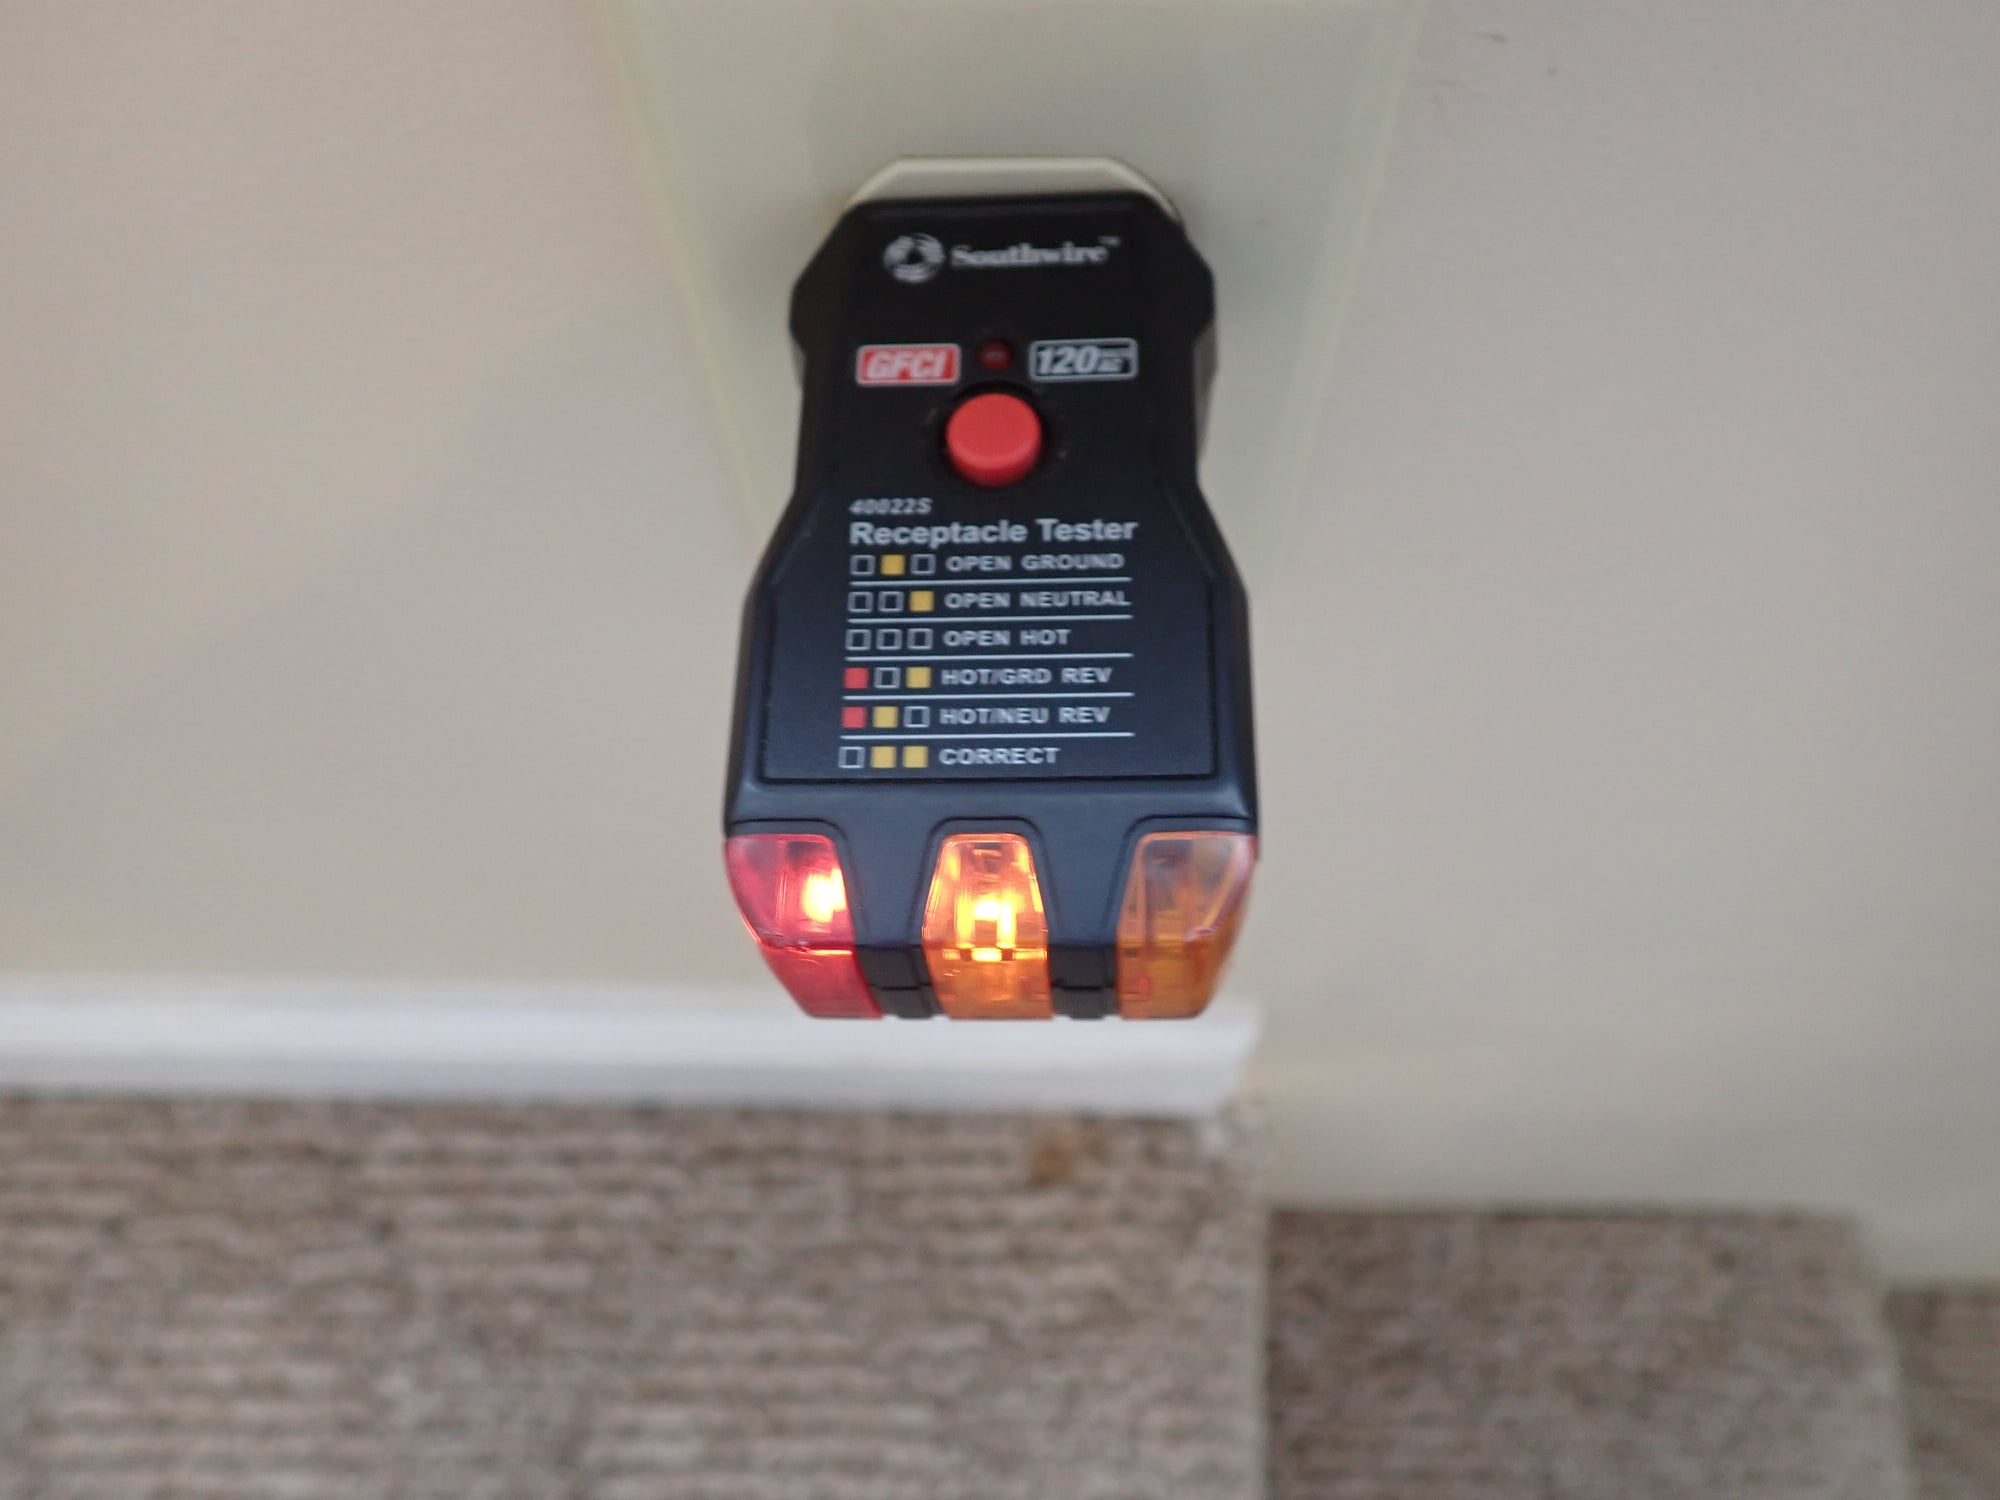
A plug-in tester reading of hot and neutral reversed—what it means, why it matters, and what a licensed electrician should correct.
View case fileElectrical
Status Plan for Correction
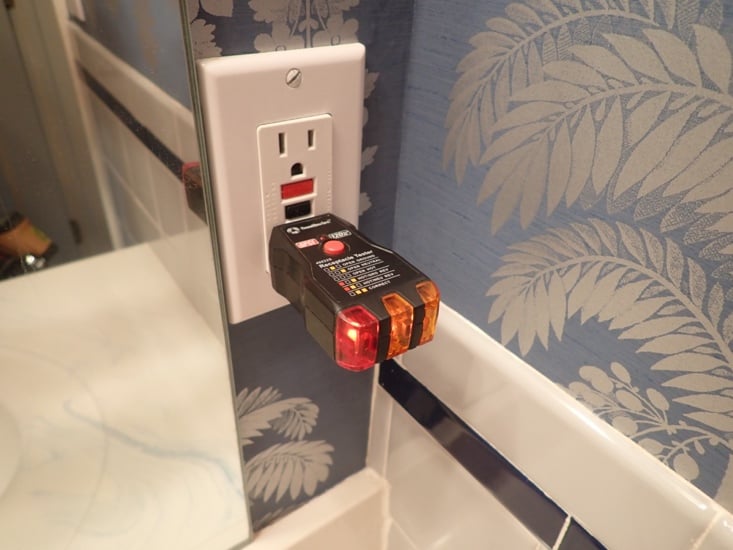
A three-prong outlet that tests as having no equipment ground—common in older homes with two-wire wiring. Here’s what it means, why it matters, and how it’s corrected.
View case filePlumbing
Status Plan for Correction
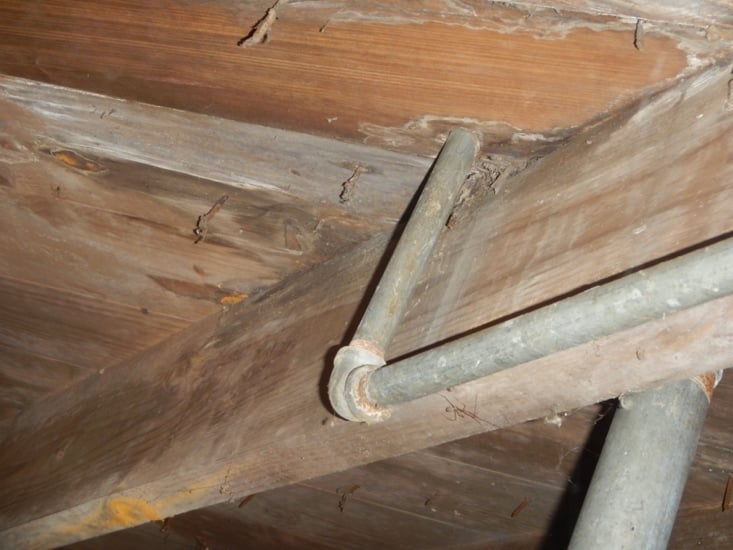
Gray steel water pipe common in homes built before the 1960s. It corrodes from the inside, restricts water flow, and eventually needs replacement—shown in real Upstate SC inspection findings.
View case fileArticle
The most common defects we document during home inspections — from water heaters and electrical issues to crawlspace damage.
Read more